By Anastasiia Polokhlyvets
Forest photography is special to many because it’s all about capturing that feeling and the natural environment in all of its glory – doing justice to what you see when you’re there.
While an extremely enjoyable art form to practice, forest photography can also come with its own set of unique challenges. It can be difficult to find a composition to focus on that tells the story you want it to in such a chaotic and disordered environment.
Follow this simple guide to forest photography and you’ll be equipped with the tools you need to take great pictures of a forest near you. Let’s get started.
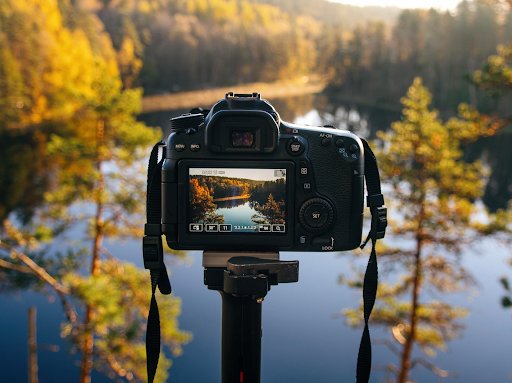
Digital camera and lenses
Generally speaking, all you need to take great landscape forest photography is a camera in any form, even your smartphone will do! However, if you want to dig down and get great photography in the woods, you’ll need a decent DSLR or mirrorless camera and one or more good quality lenses.
Tripod
While it is possible to take beautiful woodland photography handheld, you’ll find it much easier to get a great shot if you have a tripod to hand. We recommend spending a little bit of money on a nice, stable tripod for the best results – although a good quality cheap tripod will do just fine.
There are no perfect settings for forest photography as it all depends on what you're shooting, how you want to portray it, and what the conditions are like on the day. However, there are a few things you want to bear in mind when picking the right settings.
Use a lower aperture for sharp photos
Aperture is the size of the diaphragm or ‘iris’ in your camera that dictates how much light is let in and also how ‘blurry’ the foreground and background elements are (depth of field).
While it can be tempting to use higher apertures for that shallow depth of field, most lenses produce sharper forest images at a lower-than-maximum aperture.
Use higher shutter speeds with caution (especially if it’s windy)
Using high shutter speeds can achieve stunning images that you wouldn’t usually see in nature, especially when streams, waterfalls, fog, or mist are involved.
However, when there’s a breeze in the air, plants and tree branches tend to blow about in the wind. When you use a longer shutter speed, it can result in blurry details as a result.
It’s possible to get great forest photography at any time of day, but avoid the middle of the day if it’s sunny as this produces harsh lighting that can not only look bad but also make it hard to expose both shadow and highlights correctly.
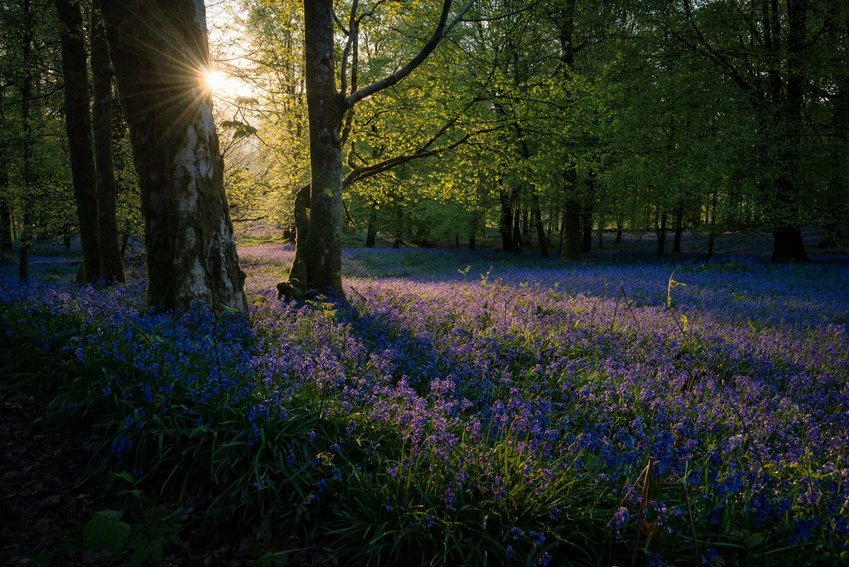
‘Golden Hour’ is the first hour in the morning after the sun comes up or the last hour in the evening before it goes back down again and can produce stunning photography with lots of detail and warm colours.
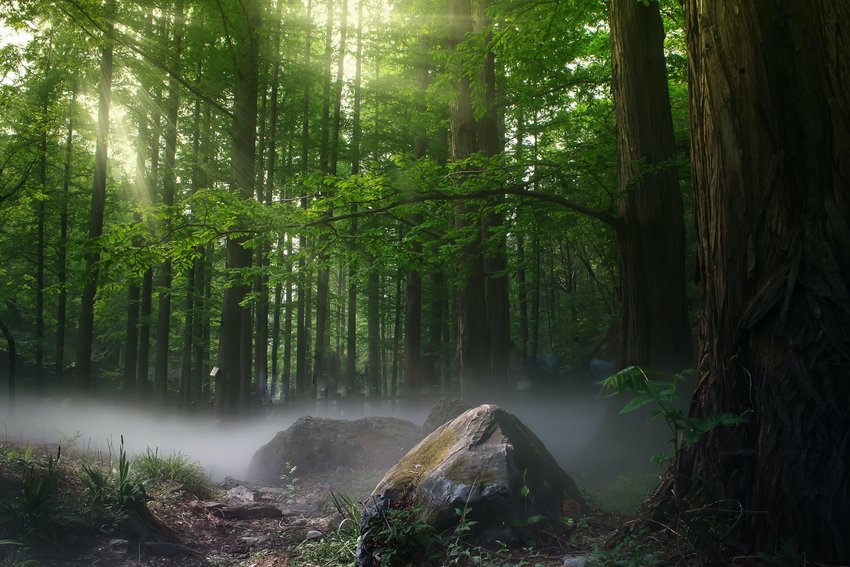
The early hours of the morning can also be great for forest photography because you’ll often get heavy mist or fog rolling in through the trees. This adds depth and dimension to your photography and provides a magical quality that’s characteristic of a great woodland photographer.
Your subject doesn’t need to be a single object, just something of interest that the viewers’ eyes can be drawn towards.
Once you’ve found a subject that interests you, find a composition that draws attention to that subject. Try using techniques like the rule of thirds or leading lines to make it clear where you want your viewer to look in your images.
In contrast, you might want to deliberately leave your photos woods without a clear subject if you intend on using them for something specific like a cover photo woods based or the background of an invitation card. Adding your forest images to a personalized invitation card is a great way to create something unique for your invites. Check out this card maker to try it for yourself.
The human eye is naturally drawn to areas of high contrast. Frame up your compositions thoughtfully by either putting the most contrast on your subject or using a high-contrast area to direct the eye toward it.
This can be done with lighting, color, and the perspective you choose to look at your subject from. Introducing lots of negative space or depth around your subject can also make it more obvious within the scene.


Comments
No comments on this item Please log in to comment by clicking here